7 DIY Kitchen Decor Crafts to Revamp Your Space
Looking to inject some personality and charm into your kitchen? Forget expensive renovations – the answer lies in the delightful world of DIY kitchen decor crafts. With a little creativity and a few basic supplies, you can transform your cooking space into a stylish and inviting haven. From sprucing up shelves to adding custom touches, these seven DIY projects offer something for every skill level, providing a fun and affordable way to refresh your kitchen. So, gather your materials, unleash your inner artist, and prepare to fall in love with your newly decorated kitchen. Let’s dive into these creative ideas that will make your kitchen the heart of your home.
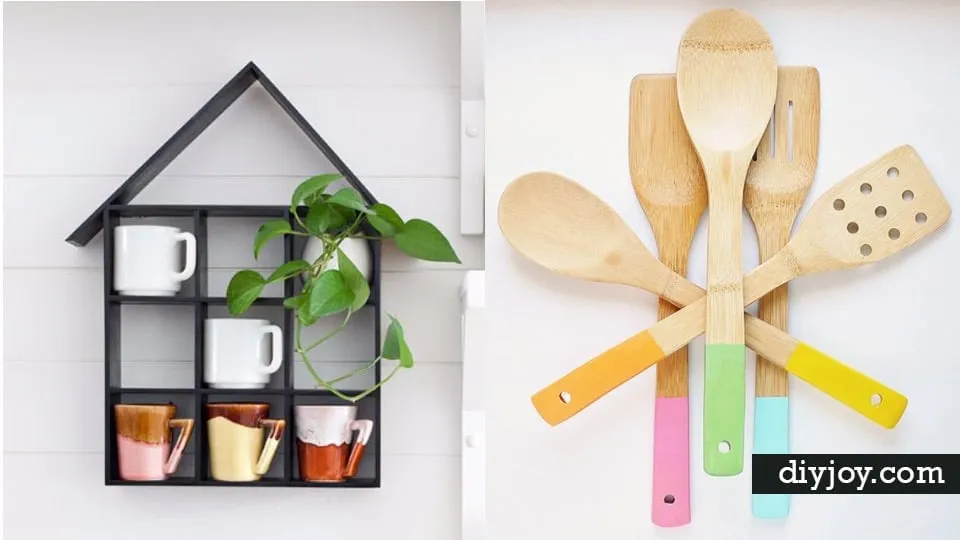
Charming Kitchen Crafts Shelf Makeover
A well-styled shelf can completely transform the look and feel of your kitchen. Instead of buying expensive shelving, why not create your own unique display? This project is fantastic for showcasing your favorite kitchenware, cookbooks, or decorative items. It’s a simple yet impactful way to add character and warmth to your space. Furthermore, a shelf makeover is a quick project that you can complete in a weekend, instantly adding a touch of personality to your kitchen.
Gather Your Materials

Before starting, gather essential materials. You will need wooden boards, brackets for mounting, sandpaper, paint or stain, a paintbrush or sponge, a drill, and screws. Consider adding decorative elements like stencils, patterned paper, or small hooks for added flair. Ensure all your materials are of good quality to ensure the longevity of your new shelves. Planning ahead with your materials ensures the project runs smoothly.
Instructions Shelf Makeover
Begin by sanding the wooden boards to create a smooth surface. Apply paint or stain, letting it dry completely before mounting the brackets and attaching the shelves to your wall. Consider adding a stencil or a piece of patterned paper on the back of the shelf for an elegant look. Organize your items on the shelves and enjoy your newly decorated space. Remember to measure carefully to ensure proper alignment and a secure fit.
Spice Rack Project
Keep your spices organized and within easy reach with a DIY spice rack. This project can be tailored to fit any kitchen size or style, from a small wall-mounted rack to a larger, multi-tiered design. A spice rack adds a touch of functionality and visual appeal. Making your own spice rack lets you use the space more effectively, which is often limited in kitchens.
How to Build a Spice Rack

You will need wood pieces, a saw, nails or screws, a hammer or screwdriver, wood glue, sandpaper, and paint or stain. Measure and cut the wood pieces to the desired size for the shelves and frame. Assemble the frame using nails or screws and reinforce with wood glue. Sand the frame and shelves, then apply paint or stain to match your kitchen decor. This project is an excellent way to create a custom spice rack.
Spice Rack Painting
Once the spice rack is built, the painting process can begin. Select paint or stain that matches your kitchen decor. Apply a primer before painting to ensure even coverage and longevity. After the primer has dried, apply two coats of paint or stain, letting each coat dry completely before applying the next. Add decorative elements, such as stenciled labels, for a more personalized touch. Consider using chalkboard paint to label your spices.
DIY Kitchen Decor Crafts: Painted Canisters
Transform ordinary kitchen canisters into unique storage containers with a splash of paint. This project is simple and allows you to express your creativity while adding functionality. Painted canisters are a great way to add a pop of color or pattern to your kitchen counters or shelves. They are also useful for storing essentials like flour, sugar, coffee, or tea. Making your own canisters provides a personalized touch.
Getting Ready Painted Canisters

Gather glass or metal canisters, acrylic paint, paintbrushes, painter’s tape (if creating designs), and a sealant. Wash and dry the canisters thoroughly. If desired, lightly sand the surfaces to help the paint adhere better. Use painter’s tape to create patterns or designs. The key to a good result is thorough preparation. Taking your time during this phase makes the rest of the project easier.
Step-by-Step Canister Painting
Apply the paint in thin, even coats, allowing each coat to dry completely before applying the next. If creating designs, remove the painter’s tape carefully once the paint is dry. Seal the painted canisters with a clear sealant to protect the paint and make the canisters easy to clean. Use stencils or freehand techniques to personalize the canisters to your liking. Consider using chalkboard paint to label the canisters.
DIY Kitchen Decor Crafts: Customized Cutting Boards
Elevate your kitchen with customized cutting boards. These boards can be personalized with names, quotes, or designs. They are both functional and decorative, making them a perfect addition to any kitchen. Customized cutting boards make a unique gift, too. They transform a functional item into a decorative one.
Designing Your Cutting Board

Select wooden cutting boards of various sizes. Sand the boards to create a smooth surface. Use wood-burning tools, stencils, paint, or wood stain to add your designs. Consider adding a family name, a favorite quote, or a custom design. This project allows you to express your creativity. Proper sanding is important for an attractive result.
Cutting Board Finishing
Apply a food-safe finish to protect the cutting boards and make them safe for food preparation. Consider using mineral oil or a food-grade varnish. Let the finish dry completely. These cutting boards will not only be practical but will also add a personalized touch to your kitchen. Maintain the cutting board by reapplying the finish periodically, and always wash them by hand.
DIY Kitchen Decor Crafts: Kitchen Window Treatments
Upgrade your kitchen windows with DIY window treatments. From simple curtains to stylish valances, these projects can add privacy, light control, and style. Custom window treatments allow you to match your decor perfectly. A well-chosen window treatment is the finishing touch in many kitchens.
Window Treatment Materials

Choose your fabric, curtain rods, measuring tape, sewing machine or needle and thread, and other decorative elements, such as tassels or ribbons. Select fabrics that complement your kitchen decor and offer the desired light control. Measure your windows carefully and plan your design. This project depends on your level of skill. Always measure twice, cut once.
How to Install Kitchen Window Treatments
Follow your chosen design. If sewing curtains, cut the fabric, sew the hems, and add the rod pocket or clips. If making a valance, consider using a stiff interfacing to maintain its shape. Install the curtain rods and hang your finished window treatments. Always consult the instructions. Make sure the curtains fit properly to the windows.
DIY Kitchen Decor Crafts: Decorative Kitchen Towels
Brighten up your kitchen with custom decorative kitchen towels. These towels are practical and can add a touch of charm and personality. They are an easy and inexpensive project that can be completed in an afternoon. This simple craft can make a big impact in your kitchen.
Towel Materials

Gather plain kitchen towels, fabric paint or embroidery floss, stencils, iron-on transfers, and a sewing machine or needle and thread. Choose towels in colors that complement your kitchen. Gather all the tools. The more choices, the more creative you can be.
How to Create Towels
Use stencils or freehand painting to create designs on the towels. You can also use iron-on transfers for more intricate patterns. Embroider patterns, phrases, or monograms onto the towels. Consider using a sewing machine to add decorative borders. Finish by pressing the towels with an iron to set the designs. These decorative towels can also be given as gifts.
DIY Kitchen Decor Crafts: Customizing Kitchen Curtains
Personalize your kitchen with custom curtains. Choose fabrics and designs to match your decor and express your style. They are a wonderful way to add color and patterns. Custom curtains offer more control over the look and feel of the room.
Materials and Design
Select fabric, measuring tape, sewing machine or needle and thread, curtain rods, and decorative trim or embellishments. Consider the lighting and privacy needs of your kitchen when selecting fabrics. Plan your design carefully, including the length, width, and style of the curtains. Always measure your windows properly to ensure that the curtains will fit well.
How to Craft Kitchen Curtains
Cut the fabric according to your measurements, sew the hems, and add the rod pocket or clips. Add any decorative trim, such as ribbons, tassels, or buttons, to enhance the design. Install the curtain rods and hang your finished curtains. Ensure that the curtains match the style of your kitchen. Remember to iron the curtains for a professional look.
DIY Kitchen Decor Crafts: Rustic Wooden Signs
Create a warm and inviting atmosphere with rustic wooden signs. These signs can display quotes, sayings, or kitchen-related words. They add a touch of farmhouse charm. Wooden signs are great for creating a rustic vibe.
Wooden Sign Supplies
Gather wooden boards, sandpaper, paint or stain, stencils or freehand drawing tools, a paintbrush, and a sealant. Choose the size and shape of your signs. Consider using reclaimed wood for a more rustic look. Get everything prepared to start the project.
Creating a Rustic Wooden Sign
Sand the wooden board, then apply paint or stain. Use stencils or freehand to paint your chosen design or quote. Seal the sign with a protective sealant to make it durable. Hang your finished sign in your kitchen to add character. These are easily customizable.
From shelf makeovers and spice racks to personalized cutting boards and window treatments, these seven DIY kitchen decor crafts offer an array of options to refresh your space. Embrace your creativity and turn your kitchen into a reflection of your personal style. Happy crafting, and enjoy the transformation.